How to get smoke smell out of a car (step-by-step) Guide from TACT North Atlanta

How to Get Smoke Smell Out of a Car (Step‑by‑Step Guide from T.A.C.T. North Atlanta)
If you’ve ever climbed into a vehicle that reeked of stale cigarettes, you know how unpleasant and persistent that odor can be. Whether you just bought a used car from a smoker, need to prep a vehicle for resale, or simply want your ride to stop reminding passengers of an ashtray, this guide will walk you through the complete process of eliminating smoke smell from your car’s interior.
Key Takeaways: Removing Smoke Smell from Your Car Fast
Cigarette smoke and tobacco odor are among the most stubborn smells to remove from any vehicle. The stench doesn’t just float in the air—it saturates fabrics, coats hard surfaces, and embeds itself deep into foam cushions, carpets, and your HVAC system. Beyond the obvious comfort issue, that lingering smoke smell can significantly hurt your car’s resale value and may indicate harmful third-hand smoke residue still present on interior surfaces.
Here’s what most people get wrong: hanging a car air freshener from the mirror or spraying fragrance won’t solve the problem. These products simply mask the odor temporarily while the actual source—tar, nicotine, and ash residue—remains embedded throughout your vehicle. To truly rid your car of smoke odor, you need to physically remove the residue from every surface, treat fabrics and carpets, address the cabin filter and ventilation system, and then neutralize any remaining molecules.
Quick at-a-glance checklist:
Clear all trash, debris, cigarette butts, and odor sources
Deep clean all interior surfaces (dash, doors, glass, headliner)
Treat upholstery, carpets, and floor mats
Clean vents and replace the cabin air filter
Neutralize lingering odors with absorbers and sprays
Air out the vehicle completely
Consider professional help for severe cases
T.A.C.T. North Atlanta specializes in heavy-duty odor removal for cars, homes, and commercial fleets. When DIY methods aren’t cutting it—especially in vehicles that have been smoked in daily for years—our professional remediation services can restore your car completely.
Why Smoke Odor Lingers Inside Cars
When someone smokes cigarettes, cigars, or even marijuana in a vehicle, the smoke particles don’t simply disappear when the window is cracked. Instead, these microscopic particles penetrate every porous surface in the cabin: seat foam, carpet padding, headliner fabric, door panel cloth, and even the plastic dashboard. Over time, repeated smoking creates layers of contamination that go far deeper than the surface.
Third-hand smoke is the term for the sticky residue of nicotine, tar, and other chemicals that coats virtually everything inside a smoker’s car. This film accumulates on dashboards, steering wheels, glass, vents, seat belts, and leather or vinyl surfaces. In cars smoked in daily over months or years, this residue becomes thick enough to visibly yellow light-colored materials and create a persistent stink that no amount of airing out will fix.
Your HVAC system compounds the problem significantly. The cabin filter traps smoke particles, and every time you turn on the fan, AC, or heat, those contaminated particles recirculate throughout the cabin. This is why many people notice the smell gets worse when they first turn on the air conditioning—the system is essentially blowing trapped smoke residue directly at them.
The health and comfort impacts extend beyond mere annoyance. Smoke residue can trigger headaches, allergies, and respiratory irritation. For anyone selling a vehicle, the whiff of stale smoke is an immediate red flag for buyers. Rideshare drivers and company fleet managers face complaints from passengers and clients who refuse to ride in vehicles that stink of tobacco.
Lasting results require a systematic, step-by-step approach rather than relying on any single product or quick fix. Simply spraying air freshener into a smoker’s car is like putting perfume on without showering—it doesn’t address the underlying problem.

Initial Prep: What You’ll Need Before You Start
Gathering all your supplies before you begin makes the cleaning day far more efficient. For a moderately smoky sedan, expect to spend 2–4 hours on the complete process. Heavily saturated vehicles may require multiple sessions over several days.
Essential tools and products:
Heavy-duty trash bags
Shop vacuum with crevice tool and brush attachments
Microfiber towels (at least 10–15)
Soft interior detailing brushes
Fabric and upholstery cleaner
All-purpose interior cleaner for hard surfaces
Automotive glass cleaner
Baking soda (large box or bag)
Activated charcoal bags (2–4)
Disposable nitrile gloves
Basic respirator mask for strong odors
Optional but helpful equipment:
Small steam cleaner
Consumer-grade ozone generator (with proper safety precautions)
Portable fan or dehumidifier to speed drying
pH-balanced leather cleaner and conditioner
Park your car in a shaded, well-ventilated area before starting. In North Atlanta, aim for early morning or late afternoon during summer months to avoid working in extreme heat. An open garage or shaded driveway works well.
For vehicles that have been heavily smoked in—such as rideshare cars, work trucks, or commuter vehicles used by long-term smokers—professional odor remediation from T.A.C.T. North Atlanta may be more cost-effective than attempting extensive DIY work.
Step 1: Remove All Sources of Smoke Odor
Before any cleaning solution touches your car, you need to eliminate everything that’s actively holding tar, ash, and tobacco residue. This preparation phase is foundational because lingering physical sources will perpetually reintroduce the smell even after you’ve cleaned.
Start by removing all personal items from the vehicle: floor mats, trunk liners, child car seats, and anything stored in the cabin. Check every compartment systematically:
Cup holders
Door pockets
Center console storage
Glove box
Seatback pockets
Under seats
Trunk and spare tire well
Dispose of cigarette butts, loose ash, lighters, empty tobacco pouches, and old air fresheners in a sealed trash bag. Don’t just toss these items in your house garbage can near the car—the odor can drift right back in through open windows.
Pull out any removable ashtrays or portable ash containers. These need separate, thorough cleaning or outright replacement if they’re beyond saving.
Slide each seat all the way forward, then all the way back, using a flashlight to inspect the seat rails and tracks. The area between and under seats is notorious for hiding debris that continues to smell like smoke long after surface cleaning.
Clear Out Trash and Debris Thoroughly
Bag up all trash, old receipts, food wrappers, and general clutter. These items trap odor molecules and will undermine your cleaning efforts if left behind. Don’t forget to check:
The trunk thoroughly, including side storage cubbies
The spare tire well where old packs or matches might be hiding
Any compartments under rear seats
Behind sun visors and in overhead storage
Use nitrile gloves when handling items in high-smoke vehicles. The sticky tar residue on surfaces in older commuter cars or work vans can transfer to your hands and spread to other areas.
If your car has aftermarket fabric seat covers or a steering wheel cover that smells smoky, remove them. Either launder these items separately (if the care label allows) or discard them if they’re badly saturated. Keeping odor-soaked covers on your seats defeats the purpose of cleaning.
Empty and Clean Ashtrays and Small Compartments
Empty built-in ashtrays outdoors into a metal or thick plastic container—never inside the cabin where ash can scatter. For removable ashtrays, wash them with warm water and a degreasing dish soap, then allow them to dry completely before reinstalling.
For non-removable ashtrays, cup holders, and small storage pockets, wipe them down with an interior cleaner sprayed onto a microfiber towel. Work the towel into corners and crevices to remove the tar film that accumulates in these spaces.
If an ashtray has been used heavily for years and cleaning doesn’t eliminate the odor, check whether a replacement insert is available for your vehicle’s make and model. Sometimes replacement is the only effective option.
Inspect Under and Between Seats for Hidden Odor Sources
Use a flashlight and your vacuum’s crevice tool to reach under seat rails, between seat backs and cushions, and into the narrow gaps along door sills. You’re looking for:
Burnt matches
Loose tobacco and old cigarette filters
Spilled beverages mixed with ash
Food debris that has combined with smoke
In family vehicles, old food mixed with smoke residue can create a particularly complex, unpleasant odor that requires attention beyond just smoke remediation.
Do a quick initial vacuum pass at this stage to pick up large debris and visible ash. This prepares surfaces for the deeper cleaning to come.
Step 2: Deep Clean All Interior Surfaces
Smoke residue coats every surface inside a vehicle: plastic, vinyl, leather, glass, and metal trim. One telltale sign of a heavily smoked-in car is the visible yellow or brown film that accumulates on the inside of the windshield—that same film covers every other surface too, even if it’s less visible on darker materials.
The general process follows a top-down approach:
Start with the headliner and A/B/C pillars
Move to mid-level surfaces (dashboard, doors, steering wheel)
Finish with lower areas (console, seats, carpets)
This prevents dirty cleaning solution from dripping onto already-cleaned surfaces below.
Use automotive-safe cleaners designed specifically for dashboards, touchscreens, and interior trim. Avoid harsh household chemicals like undiluted bleach or ammonia, which can damage plastics, discolor fabrics, and leave their own unpleasant chemical smell.
For severe smoke contamination—such as vehicles exposed to small interior fires—professional remediation rather than simple detailing may be required.
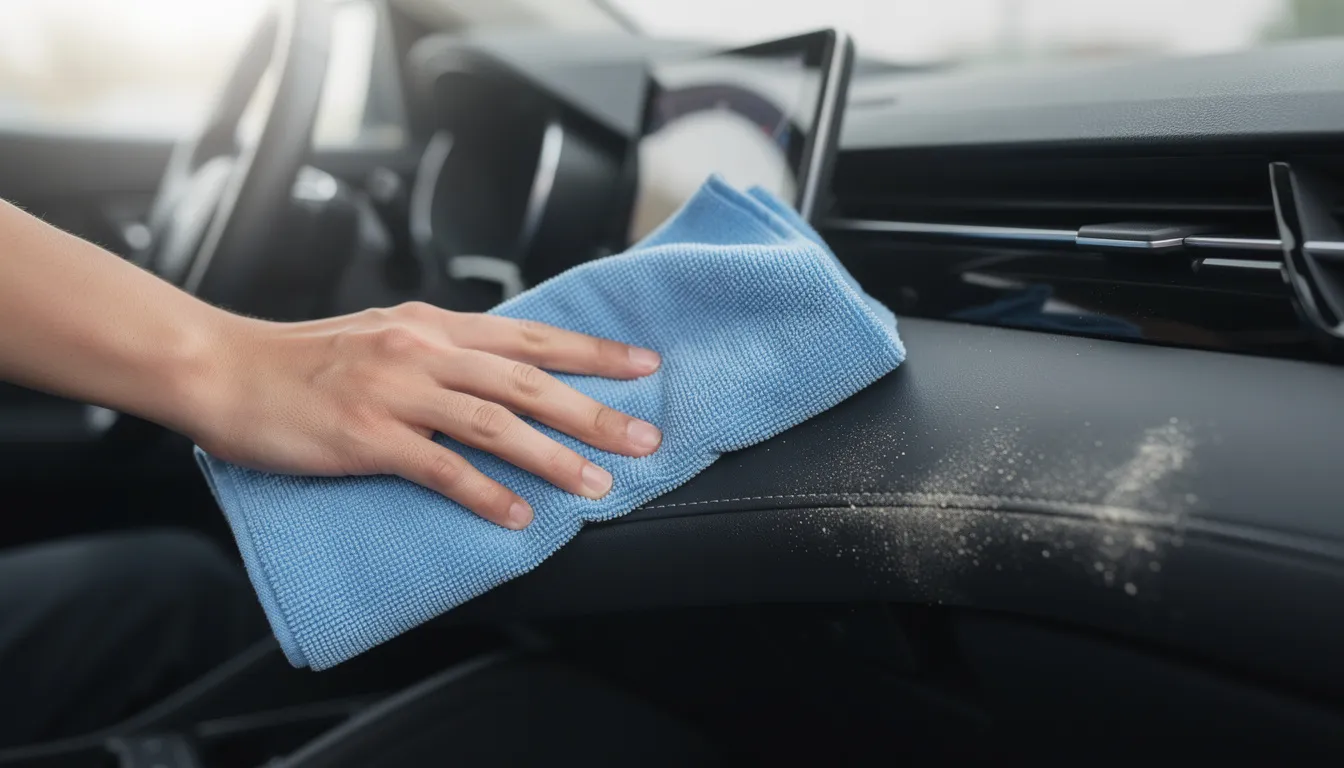
Wipe Down Dash, Doors, Console, and Other Hard Surfaces
Spray your interior cleaner onto a microfiber towel rather than directly onto surfaces. This prevents overspray from reaching electronics, touchscreens, and getting into crevices where it can cause problems.
Work systematically through these high-touch areas that typically hold the strongest odors:
Surface | Cleaning Notes |
|---|---|
Steering wheel | Wipe entire surface including back side |
Column stalks | Often overlooked but heavily touched |
Radio/climate controls | Use brush for button crevices |
Shifter and console | Include cup holders and storage |
Door handles and armrests | High-contact areas accumulate residue |
Seat belt buckles | Wipe plastic housing and around insertion point |
Use a soft detailing brush or old soft-bristled toothbrush to agitate grime in seams, badge lettering, and around buttons where tar builds up in tiny crevices.
For cars smoked in daily, plan on at least two complete passes. Use fresh, clean towels for the second pass and check whether any yellow or brown residue is still coming off. If it is, the surface needs additional cleaning.
Clean Interior Glass and Mirrors
Smoke creates a hazy film on the inside of the windshield, side windows, and rear glass. This film traps odor, reduces visibility (especially at night), and makes the car feel grimy even after you’ve cleaned other surfaces.
Use an automotive glass cleaner and a lint-free microfiber towel. Work in overlapping strokes to avoid streaks—many detailers recommend vertical strokes on the inside and horizontal strokes on the outside so you can identify which side any remaining streaks are on.
Clean the inside of all windows and mirrors thoroughly. If the previous owner often smoked with windows cracked, consider cleaning the outer glass as well, as residue can accumulate on exterior surfaces near the opening.
Follow up with a dry microfiber towel to buff the glass and ensure no film or streaks remain. You may need to test your work at different angles and in different lighting to spot any haze you missed.
Don’t Ignore the Headliner and Pillars
The headliner is often one of the most odor-saturated areas in cars that have been repeatedly smoked in. Even light smoke rises and gets absorbed into this fabric ceiling, and it’s frequently overlooked during cleaning.
Use a fabric-safe interior cleaner or dedicated upholstery cleaner, applied very sparingly. Over-wetting the headliner can cause the adhesive backing to release, leading to sagging—an expensive problem to fix.
Work in small sections:
Spray cleaner onto your microfiber towel, not the headliner
Gently dab or lightly brush the section
Blot immediately with a dry microfiber towel
Move to the next section
Avoid aggressive scrubbing, which can damage the fabric or push moisture deeper into the backing material.
If the headliner is heavily yellowed or still reeks after thorough cleaning, replacement may be the only way to fully resolve the odor. In older vehicles, this is often more practical than repeated cleaning attempts.
Step 3: Treat Upholstery, Carpets, and Floor Mats
Soft surfaces act like sponges for smoke odor. Cloth seats, carpets, trunk lining, seat belts, and fabric door panels all absorb and hold smoke particles far more effectively than hard surfaces. This section requires the most time and effort for vehicles with significant smoke contamination.
Different materials require different approaches:
Material | Cleaning Approach |
|---|---|
Cloth seats | Fabric cleaner, gentle agitation, blot extraction |
Leather seats | pH-balanced leather cleaner, condition after |
Vinyl/faux leather | Interior cleaner, wipe clean |
Carpets | Vacuum first, then shampoo |
Rubber floor mats | Scrub with cleaning solution, rinse, dry completely |
For fleet vehicles, rideshare cars, or company trucks in North Atlanta that see daily use by smokers, professional hot-water extraction and deodorization can save significant time and often delivers better results than DIY methods.
Vacuum Seats, Carpets, and Trunk Thoroughly
Start with a slow, methodical vacuuming of all fabric surfaces. Rush this step and you’ll be grinding ash and debris deeper into fibers when you start scrubbing.
Focus on:
Between seat cushions and seat backs
Along seat rails and tracks
Door sills and thresholds
Trunk floor, side panels, and spare tire area
Under the driver’s seat and passenger seat
Use crevice and brush attachments to pull ash and fine particles out of seams. A shop vac with strong suction will perform significantly better than a small handheld vacuum, especially for heavily soiled vehicles where you need to pull particles from deep within carpet fibers.
Shampoo Cloth Seats, Carpets, and Mats
Mix your fabric or upholstery shampoo according to label directions, or use a ready-to-use automotive fabric cleaner. The process:
Apply the product lightly to a small section
Agitate with a soft brush using circular motions
Let the cleaner dwell for 30–60 seconds
Blot thoroughly with clean microfiber towels to lift soil and smoke residue
Move to the next section
Remove rubber or carpet floor mats from the vehicle and clean them separately outside. Rubber mats can be scrubbed with a cleaning solution and rinsed with a hose. Carpet mats should be shampooed, then allowed to dry completely before returning them to the car.
Avoid soaking seat cushions. The foam inside takes forever to dry and can develop mildew in humid Georgia conditions. Light applications with thorough extraction are far more effective than saturating the material.
Special Care for Leather and Vinyl Seats
Leather requires a separate approach from cloth. Use a pH-balanced leather cleaner applied to a microfiber cloth—never spray directly onto the leather surface.
Gently massage the cleaner into seams and perforations where smoke particles hide. These tiny openings in perforated leather seats trap odor-causing residue that standard wiping misses. After cleaning, wipe the surface with a clean, damp microfiber cloth.
Once the leather is clean and dry, apply a quality leather conditioner. This keeps the material supple and helps create a barrier against future odor absorption and stains.
Vinyl and faux leather can generally be cleaned with your all-purpose interior cleaner and a microfiber towel. Always test any new product on an inconspicuous area first—some cleaners can discolor or damage certain synthetic materials.
Let Fabrics Dry Completely
Proper drying is critical to prevent mildew or musty odors from developing—especially important during humid Georgia summers. Rushing this step can create new odor problems to replace the smoke smell you just removed.
Drying strategies:
Open all doors in a safe, covered area
Point portable fans into the cabin
Run the car with AC on fresh air mode (not recirculate)
Allow overnight drying time when possible after shampooing
Before closing up the vehicle, verify that deep foam and carpet padding are actually dry. You can press a dry white towel firmly into seats and carpets—any dampness will show on the towel. A moisture meter provides more precise readings if you have access to one.
Step 4: Clean Vents and the HVAC System
This step is where many DIY smoke removal attempts fall short. People thoroughly clean every visible surface, then wonder why the odor “comes back” when they turn on the AC or heat. The answer is in the HVAC system, which holds smoke particles in the ductwork, evaporator, and cabin filter.
Even after a complete interior detail, an unchanged cabin air filter and untreated ventilation system can undo much of your work. Every time the fan kicks on, contaminated air circulates through the cabin.
T.A.C.T. North Atlanta frequently includes HVAC treatment as part of heavy-odor remediation to ensure vehicles actually smell clean when driven—not just when sitting with windows open.
Wipe and Brush Vent Registers
Use a soft detailing brush or foam swabs to agitate dust and residue from vent slats. Hold your vacuum hose near each vent opening to capture particles as you dislodge them.
Lightly spray interior cleaner on a microfiber towel (never directly into vents or onto electronics) and wipe:
All dashboard vents
Vent surrounds and bezels
Climate control knobs and buttons
Rear passenger vents
Floor and defrost outlets (if accessible)
This physical cleaning removes surface contamination and prepares the system for deodorizing treatment.
Replace the Cabin Air Filter
Many drivers forget the cabin filter exists, yet it’s often packed with years of dust, pollen, and smoke particles. A saturated filter continuously reintroduces contaminated air into your cabin every time the fan runs.
Check your owner’s manual or a reputable online guide to locate and access the filter. Common locations include:
Behind the glove box (most common)
Under the dashboard on the passenger side
Under the cowl at the base of the windshield
In the engine bay near the firewall
Replace any filter that appears dark, dusty, or smells smoky. Consider upgrading to an activated-carbon cabin filter, which provides additional odor-absorbing capability. This is typically a quick 10–20 minute DIY job that makes a noticeable difference in air quality.
Run the HVAC with an Odor Neutralizer
After replacing the filter, treat the system itself:
Start the engine and turn the fan on high
Set AC to fresh air mode (not recirculate)
Open all doors and windows
Locate the exterior air intake (usually at the base of the windshield)
Spray an automotive odor neutralizer into the intake for several seconds
Let the system run for 10–15 minutes to circulate the neutralizer through ducts, the evaporator, and all vents
Safety note: Do not sit inside the vehicle while using strong chemical neutralizers or consumer ozone units. Always follow manufacturer safety instructions, ensure proper ventilation, and allow adequate time for any chemicals to dissipate before driving.
Step 5: Neutralize Lingering Odors and Air Out the Car
At this point, you’ve removed physical sources of contamination and deep cleaned every surface. Now it’s time to address any smoke molecules that remain embedded in materials or suspended in the cabin air.
There’s an important distinction between masking odors and neutralizing them. Masking products add fragrance to cover up smells temporarily. Neutralizing products chemically break down odor-causing molecules at a molecular level, providing longer-lasting results.
For best outcomes, combine surface cleaning with odor absorbers (like baking soda and activated charcoal) and targeted odor neutralizers. In severe or older smoke cases, you may need multiple cycles of cleaning and neutralizing over several days.
Use Baking Soda and Activated Charcoal as Odor Absorbers
Baking soda is one of the most effective and affordable DIY odor absorbers. Here’s how to use it:
Sprinkle baking soda liberally over dry carpets and cloth seats
Work it gently into the fabric with a soft brush
Leave in place for 8–24 hours (overnight works well)
Vacuum thoroughly to remove all the soda
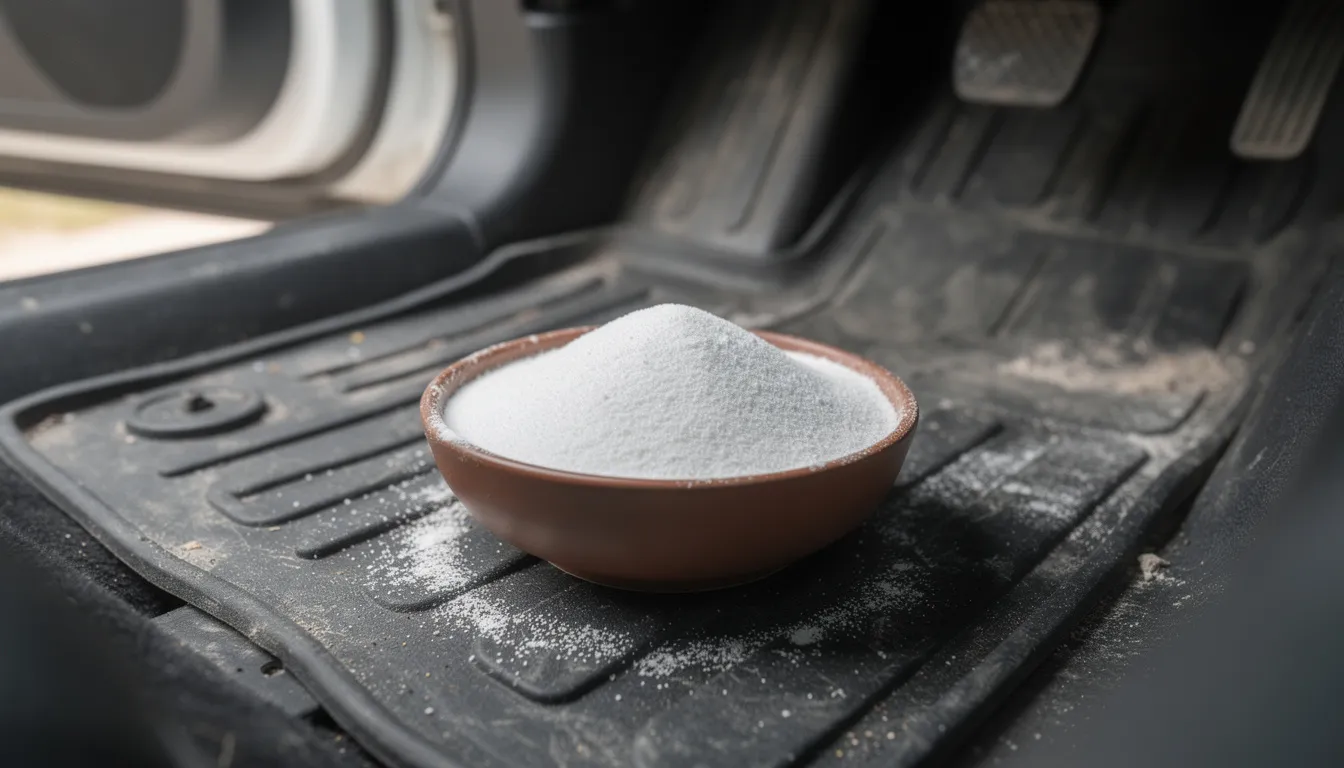
For additional absorption, place bowls or small trays of baking soda in the footwells overnight with the car closed up. The soda continuously absorbs airborne odor molecules.
Activated charcoal bags provide longer-term, passive odor absorption. Place them:
Under the front seats
In cup holders
In the trunk
In door pockets
Leave charcoal bags in place for 1–4 weeks for ongoing odor control. Refresh or replace them according to package directions—most can be “recharged” by placing them in direct sunlight for a few hours.
Apply an Automotive Odor Neutralizing Spray
Choose a product specifically labeled as an odor neutralizer or eliminator—not just a fragrance or air freshener. These products contain enzymes or chemical compounds designed to break down odor molecules rather than simply cover them.
Lightly mist high-odor areas:
Driver’s seat and headrest
Headliner directly above the driver’s seat
Door panels on the smoking side
Carpet in the driver’s footwell
Multiple light applications over several days work better than one heavy saturation. This allows the neutralizer to penetrate gradually and gives time for it to work between applications.
Always test any new spray product on a hidden area of fabric or leather first. Some products can cause discoloration on certain materials—better to discover this on an inconspicuous spot than the middle of your driver’s seat.
Air the Vehicle Out Properly
After each major treatment step, air out the car thoroughly. This allows trapped odor molecules to escape and prevents chemical residue from building up.
Effective airing strategies:
Open all doors for 30–60 minutes in a secure location
If doors aren’t practical, open at least two opposite windows
Choose mild weather when possible (early morning or evening in Atlanta summers)
Park in indirect sunlight to warm interior surfaces
Warming the interior helps release trapped odor molecules from materials. Once released, these molecules can vent out through open doors and windows. Direct, harsh sunlight can damage dashboards and leather, so indirect warmth is ideal.
Repeat the air-out cycle after every major cleaning or odor-neutralizing step. Waiting overnight between treatments allows you to evaluate your progress with a fresh nose the next day.
Step 6: Add Long‑Lasting Freshness and Maintain a Smoke‑Free Car
Once you’ve eliminated the heavy smoke odor, good habits and light maintenance will keep your car fresh and protect its value. The best long-term strategy is simple: keep smoking completely outside the vehicle to avoid re-contamination.
For property managers and business owners with vehicles or garages that face repeated smoke exposure, T.A.C.T. North Atlanta can help develop maintenance plans that keep contamination from building up to problematic levels.
Choose and Use Air Fresheners Wisely
After all your deep cleaning and odor neutralization work, a subtle air freshener can provide a pleasant finishing touch. The key word is subtle—heavy perfumes can combine oddly with any residual smoke traces and create an even worse smell.
Good options include:
“New car” scent (familiar and generally pleasant)
Light linen or cotton fragrances
Neutral fresh air or ocean scents
Use hanging fresheners, vent clips, or very light interior sprays only after deep cleaning and neutralization are complete. Air fresheners should be a finishing touch, not your primary odor control tool.
Replace fresheners every 3–4 weeks rather than adding multiple products at once. Layering fragrances rarely works well and can make your car smell like a perfume counter.
Build a Simple Monthly Cleaning Routine
Maintain your smoke-free results with a basic monthly checklist:
Task | Time Required | Notes |
|---|---|---|
Quick vacuum of carpets and seats | 10–15 minutes | Focus on high-traffic areas |
Wipe dash and door panels | 5–10 minutes | Use mild interior cleaner |
Clean interior glass | 5–10 minutes | Prevents film buildup |
Check charcoal bags | 2 minutes | Replace or recharge as needed |
Use a mild interior cleaner and microfiber cloth to remove any new film or pollutants before they build up. Even in non-smoking vehicles, road grime, dust, and environmental pollutants accumulate over time.
Replace your cabin filter every 12 months or 12,000–15,000 miles. For vehicles that previously had heavy smoke exposure, consider more frequent replacement to ensure the new filter isn’t just recirculating old contamination.
Know When to Call a Professional Odor Removal Service
Some situations call for professional intervention. DIY methods have their limits, and knowing when to call for help saves time, money, and frustration.
Consider professional help when:
The vehicle has years of heavy daily smoking
There’s burn damage or fire exposure
The headliner is visibly nicotine-stained
You’ve cleaned multiple times but the odor keeps returning
You need the car ready quickly for sale or use
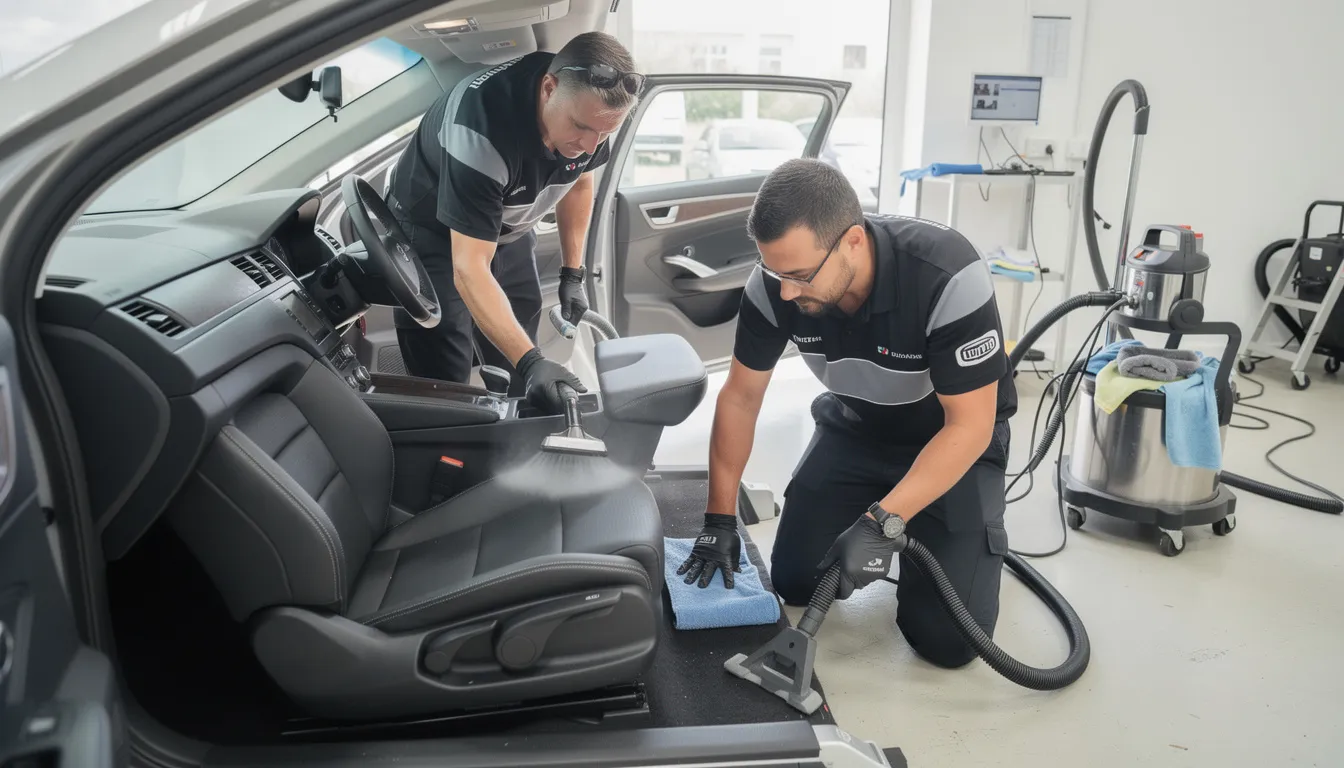
Professional services like T.A.C.T. North Atlanta use advanced tools beyond typical consumer equipment:
Commercial-grade ozone machines with proper safety controls
Thermal fogging that penetrates all surfaces simultaneously
Enzyme treatments for biological odor components
HEPA filtration to remove airborne particles
Common professional use cases include preparing smoked-in cars for resale, cleaning company vehicle fleets, and remediating vehicles affected by small interior fires.
If you’re in the North Atlanta area and dealing with stubborn smoke odor in your car, truck, or commercial vehicle, contact T.A.C.T. North Atlanta 24/7 for a professional assessment. We provide tailored smoke odor removal solutions when DIY methods aren’t getting the job done.
FAQs About Getting Smoke Smell Out of a Car
How long does it typically take to remove smoke odor from a car?
For light smoke exposure, you can achieve good results in 1–2 days of focused work. Heavily smoked-in cars—particularly those used by daily smokers for years—may require repeated treatments over a week or more. The verification process is straightforward: if you can still detect smoke when you enter the car after it’s been closed overnight, more work is needed. Verification successful means opening the door to neutral or pleasant-smelling air.
Do ozone machines actually work for smoke odor?
Yes, ozone generators can be highly effective at neutralizing smoke odors at a molecular level. The ozone machine works by producing O3 molecules that break down odor-causing compounds. However, ozone is harmful to breathe and must only be used in unoccupied vehicles. Consumer-grade units require careful attention to safety instructions, and commercial-grade equipment is best handled by trained professionals who understand proper treatment duration and ventilation protocols.
Can I use household products like vinegar and baking soda?
Both work reasonably well for lighter smoke contamination. A mixture of one part white vinegar to two parts water can be sprayed on hard surfaces and fabrics, left to sit, then wiped clean—vinegar neutralizes odors rather than just covering them. Baking soda absorbs airborne odors and can be sprinkled on carpets overnight before vacuuming. For heavy contamination, however, professional-grade products and equipment typically deliver faster, more thorough results.
Can smoke smell be fully removed from older cars?
In most cases, yes—but realistic expectations matter. Modern remediation techniques including professional ozone treatment, thermal fogging, and enzyme cleaners can dramatically reduce even decades-old smoke contamination. However, extremely saturated materials like old headliners or foam padding may need replacement rather than cleaning. The cost of professional remediation versus the vehicle’s value should factor into your decision.
Is DIY or professional service more cost-effective?
DIY cleaning typically costs $50–$150 in materials and requires 4–8 hours of labor for moderate smoke cases. Professional services cost more upfront but include specialized equipment, proven techniques, and guaranteed results. For lightly smoked cars, DIY is usually sufficient. For vehicles smoked in heavily for years, professional services often save money in the long run by avoiding repeated failed DIY attempts and achieving results that actually stick. T.A.C.T. North Atlanta offers assessments to help you determine the right direction for your specific situation.
Will the smell come back after cleaning?
If you’ve thoroughly cleaned all surfaces, replaced the cabin filter, treated the HVAC system, and properly neutralized remaining odors, the smell should not return. Odor recurrence typically means contamination remains somewhere—often in the ventilation system, headliner, or deep in seat foam. Repeated return of the smell after multiple cleaning attempts usually indicates that professional intervention is needed to address what DIY methods can’t reach.
What about clothes and personal items that were in a smoky car?
Fabric items like clothes, blankets, and cloth bags that absorbed smoke should be laundered separately from your regular laundry. Items that can’t be washed (like leather bags or electronics) can be wiped down and aired out. Placing them in a sealed container with activated charcoal for several days can help absorb lingering odor. Don’t return these items to your freshly cleaned car until they no longer carry any trace of smoke.
Latest news