Clean mouse urine: safe removal, disinfection odor control

Clean Mouse Urine: Safe Removal, Disinfection & Odor Control
Mouse urine isn’t just unpleasant—it’s a potential pathway for serious illness and property damage. This guide is for anyone dealing with mouse urine in homes, garages, vehicles, or storage spaces, and explains why thorough cleaning is essential for health and safety. Whether you are a homeowner, renter, vehicle owner, or property manager, understanding the risks and proper cleaning methods is crucial to prevent illness and protect your belongings. Mouse urine and droppings can spread bacteria, trigger allergies, and transmit diseases such as hantavirus, salmonella, and leptospirosis. Proper cleaning not only eliminates health hazards but also helps prevent lingering odors and further rodent infestations.
Quick Answer: How to Clean Mouse Urine Safely
Mouse urine carries pathogens including hantavirus, leptospirosis, and Salmonella. These bacteria and viruses become dangerous when dried urine and droppings are disturbed, releasing harmful particles into the air you breathe. The strong ammonia odor can persist for weeks if left untreated, signaling that contaminated material has soaked into porous surfaces.
Here’s the exact process to follow:
Ventilate the room for 30 minutes with windows open, interior doors open, and a fan pulling air outward.
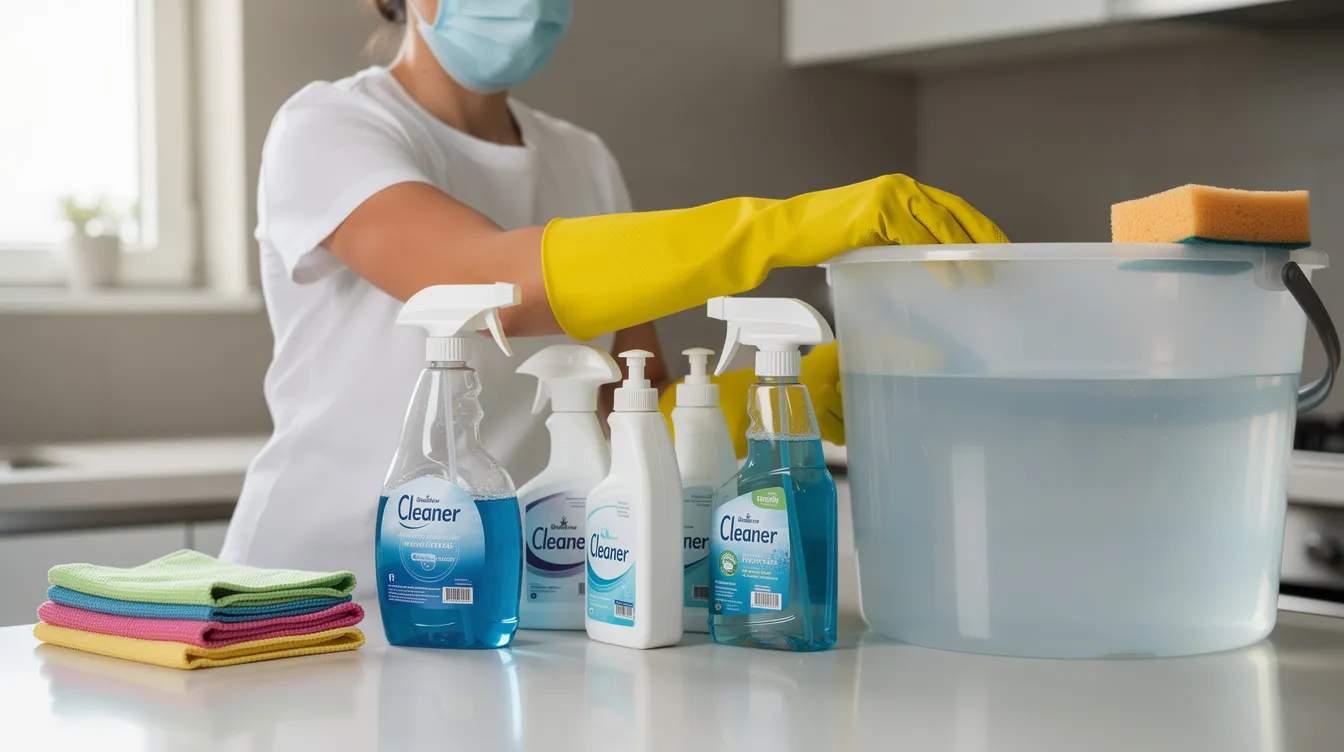
Put on rubber or plastic gloves and an N95 or FFP2 mask before entering.
Mix fresh bleach solution (1.5 cups bleach to 1 gallon water) or use an EPA-registered disinfectant.
Spray all visible urine stains and surrounding surfaces until visibly wet.
Let it soak for at least five minutes to allow the disinfectant to work.
Blot with paper towels, then wipe the affected area again with fresh disinfectant.
Double bag all contaminated waste—place materials in one plastic bag, then into a second plastic bag.
Dispose outside in a bin with a tight lid, then wash hands thoroughly after removing gloves.
Critical safety warning: Never vacuum or sweep dry rodent droppings or urine. This aerosolizes virus-laden particles, creating the exact conditions for disease transmission through contaminated air.
Understanding Mouse Urine: Risks, Smell & Infestation Clues
Mouse urine functions as both a disease vector and a reliable indicator of active rodent activity. Understanding what you’re dealing with helps you respond appropriately. Mouse urine and droppings can spread bacteria, trigger allergies, and transmit diseases such as hantavirus, salmonella, and leptospirosis. Diseases such as hantavirus, salmonella, and leptospirosis can be spread through contact with contaminated surfaces or by inhaling dust particles from rodent waste.
Health Risks from Rodent Waste
Hantavirus can cause potentially fatal respiratory illness when dried urine and droppings become airborne.
Leptospirosis bacteria enter through cuts or mucous membranes, potentially causing kidney and liver damage.
Salmonella spreads when mice deposit urine on food preparation surfaces.
While infections are statistically rare, consequences can be severe—justifying CDC-style precautions.
Visual and Smell Characteristics
Fresh urine appears as shiny, wet spots on surfaces.
Dried urine creates yellowish stains that glow distinctly under UV or black light.
Strong ammonia mouse urine smell indicates repeated urination over days or weeks.
Mouse urine odor is caused by the breakdown of urea, which releases ammonia as it decomposes.
Typical locations include back of kitchen cabinets, behind refrigerators, along baseboards, attic insulation, and garage shelving.
Common Signs of Active Infestation
Strong ammonia odor, frequent sightings, and heavy droppings are signs of a bad mice infestation that typically indicate established colonies.
Mice mark travel routes nightly with urine, creating predictable contamination patterns.
Greasy rub marks along walls indicate regular rodent traffic.
Shredded paper, nesting materials, and small dark droppings (3-6mm) near urine spots confirm a current nest.
A strong smell at floor level or inside closed cabinets signals ongoing activity.
Preparation Before You Clean Mouse Urine
Following best practice for safely cleaning rodent-contaminated areas and droppings lowers your exposure risk while making the cleanup more effective. Proper preparation reduces infection risk and makes the cleaning process more efficient. This matters especially in older homes, rentals, and cabins that have been closed for extended periods.
Gather Supplies
Supplies Needed:
Appropriate personal protective equipment: disposable or reusable rubber gloves, N95/FFP2 mask, safety glasses
Disinfectant: EPA-registered product (check the disinfectant label for contact time) or fresh 1:10 bleach solution
Cleaning tools: paper towels, disposable rags, plastic scraper for dried spots, sturdy garbage bags
Odor control: enzyme-based urine cleaner, baking soda, hydrogen peroxide for light fabrics
Ventilation Steps
Ventilation Steps:
Open windows and doors for at least 30 minutes before touching anything.
Position a box fan in a window blowing outward to bring in fresh air without pushing contamination toward you.
What NOT to Do
Common Mistakes to Avoid:
Do not start by dry sweeping, dusting, or using a regular vacuum.
Keep children, elderly, and immunocompromised individuals out until the area is cleaned and aired out.
Step-by-Step: How to Clean Mouse Urine & Droppings
These steps align with effective methods for cleaning up rodent droppings safely, helping you remove contamination without stirring dangerous particles into the air. This procedure covers floors, baseboards, and hard surfaces where urine and droppings commonly accumulate.
Complete Cleaning Process
This section outlines how to remove mouse droppings safely and thoroughly while minimizing health risks.
Step-by-Step Cleaning:
Don protective gear before entering—gloves, mask, long sleeves.
Identify contamination using a flashlight; UV light reveals dried urine tracks along walls and under appliances.
Spray disinfectant on all urine spots, droppings, and nesting materials, extending 10-15 cm beyond visible edges.
Allow dwell time of at least 5 minutes for the solution to inactivate bacteria and viruses.
Remove droppings using paper towels, folding towels over waste to prevent splashing.
Bag waste immediately in a plastic bag; when full, place into a second bag for double protection.
Re-spray and wipe cleaned areas with fresh disinfectant and clean paper towels.
Mop large areas (tile, vinyl, sealed concrete) with disinfectant solution, changing bucket water frequently.
Remove gloves last, turning inside out, then wash hands with soap and hot water for 20+ seconds.
Common Mistakes to Avoid
Never use a standard vacuum until all material is disinfected and removed; only HEPA filters capture fine particles.
Don’t shake contaminated rags or other materials—this sends dried particles airborne.
Safe Handling of Dead Mice, Nests & Traps
Thorough cleanup after a rodent infestation, including nests and waste, is essential to prevent lingering contamination. Dead rodents, nests, and used snap traps carry the same contamination as urine and droppings.
Removing a Dead Mouse:
While wearing gloves and mask, saturate the carcass and surrounding 15-30 cm with disinfectant.
Wait at least 5 minutes before handling.
Pick up using paper towels; place directly in a plastic bag.
Double bag and dispose in an outdoor bin with a tight lid.
Trap Maintenance:
Disinfect reusable traps outdoors using bleach solution with full contact time.
Rinse, air dry, then reset.
Always handle traps wearing gloves—both for safety and to avoid transferring human scent.
What NOT to Do When Cleaning Mouse Urine
Understanding how to identify and safely clean mouse droppings and other rodent waste helps you avoid risky shortcuts that spread germs.
Common Mistakes to Avoid:
Don’t sweep or dry-vacuum fresh or dried droppings, urine, or nesting materials.
Don’t use high-pressure water sprays that create fine aerosols.
Don’t burn or shred heavily contaminated cardboard boxes or insulation—seal in bags for disposal.
Don’t allow pets into contaminated areas; they can track pathogens throughout the home.
Removing Mouse Urine Odor from Different Surfaces
Persistent smells often point to hidden mice poop and urine contamination that needs proper disinfection as well as deodorizing. After disinfection eliminates the health risks, lingering odor typically originates from urine that soaked into porous materials.
General Odor Removal Approach
Always disinfect first—never use odor control to mask active contamination.
Enzyme-based cleaners break down ammonia compounds that bleach cannot neutralize.
Enzyme-based cleaners break down organic waste at the molecular level and can effectively eliminate mouse urine odor.
Multiple treatments may be necessary for saturated materials.
Odor Removal by Surface Type
Hard Surfaces (sealed tile, vinyl):
Clean with disinfectant, follow with enzyme cleaner if smell persists, air dry completely.
Semi-Porous Surfaces (unfinished wood, subfloors):
Repeat enzyme treatments over several days; severe cases may require sanding, sealing, or replacement, especially when dealing with heavy deposits of field mouse droppings.
Soft Furnishings (sofas, mattresses):
Use enzyme-based upholstery cleaner or professional hot-water extraction; replace items with deep saturation.
Comparing Odor Removal Methods
Method | How It Works | Best For | Notes |
|---|---|---|---|
Enzyme Cleaners | Break down organic waste at the molecular level, eliminating odor | All surfaces, especially porous | Most effective for urine odor; may require multiple uses |
Baking Soda | Absorbs odors from dry surfaces | Carpets, hard surfaces | Sprinkle, leave 8-12 hours, vacuum with HEPA filter |
Activated Charcoal | Adsorbs odors from the air | Enclosed spaces, storage areas | Place open containers, replace weekly |
White Vinegar | Dissolves mineral residues, neutralizes some odors | Hard surfaces | Wipe with 1:1 vinegar-water mix after disinfection |
Sun & Fresh Air | UV and airflow help dissipate odors and kill some microbes | Removable items, fabrics | Set outdoors in direct sunlight, rotate for full exposure |
Natural & Low-Odor Options for Mouse Urine Smell
These methods support odor removal after proper disinfection—they don’t kill germs on their own.
Baking soda: Sprinkle generously on dry surfaces, leave 8-12 hours, vacuum with HEPA filters; repeat as needed.
White vinegar: Wipe hard surfaces with 1:1 vinegar-water mix after disinfection to dissolve mineral residues.
Activated charcoal: Place open containers in enclosed spaces for several hours to several days; replace weekly.
Sun and fresh air: Set removable items outdoors in direct sunlight, turning to expose all sides.
Note that bleach disinfects effectively but doesn’t eliminate deep odor in porous materials—supplemental treatment is often required.
Cleaning Mouse Urine in Specific Locations
Different spaces require adjusted approaches based on materials and access.
Kitchens and Pantries
Discard any food with gnaw marks.
Disinfect shelving and appliance gaps.
Store new food in airtight containers to avoid attracting future pests.
Bedrooms and Living Rooms
Inspect carpets, upholstery, and under-bed storage where contamination accumulates unnoticed.
Garages, Basements, Sheds
Clean urine from concrete.
Discard heavily soiled cardboard boxes.
Switch to sealed plastic totes to prevent future infestations.
Consider whether professional exterminators that clean mouse poop are needed for severe contamination.
Vehicles
Check under seats, trunk wells, and HVAC intakes.
Severe contamination in air ducts or headliners may require professional detailing.
HVAC Systems
If droppings appear inside air ducts or on furnace components, shut the system off and contact a professional pest control service.
Clothing, Bedding, Carpets & Other Soft Items
Fabrics trap both bacteria and odor, requiring different treatment than contaminated surfaces, and correctly distinguishing rat vs mouse feces on nearby floors and shelves helps you judge the scale and type of infestation.
Washable Textiles:
Don’t shake off debris—pre-dampen soiled spots with disinfectant before moving.
Wash in hot water with heavy-duty detergent at the highest safe temperature.
Dry on high heat for 45-60 minutes; heat helps inactivate remaining microbes.
Carpets and Upholstery:
After disinfectant treatment and blotting, steam clean or shampoo with a cleaner-disinfectant product.
Enzyme-based pet-urine removers work well for localized spots after initial disinfection.
Call professional cleaners if large areas are saturated or odor persists beyond a week.
Non-Washable Items (books, papers, photos):
Lightly wipe glossy surfaces with disinfectant wipes, avoiding saturation.
Store porous paper items in clean, rodent-free areas for 3-6 weeks to allow natural pathogen die-off.
Discard items heavily stained with urine or showing mold.
Special Precautions for Heavy or Long-Term Infestations
A heavy mouse infestation involves multiple nests, strong ammonia throughout a room, piles of droppings, and widespread staining on insulation or subfloors.
Enhanced Protective Gear
Disposable coveralls, shoe covers, and eye protection.
Half-mask or powered air-purifying respirator with HEPA filters for attics and crawl spaces with extensive rodent waste.
When to Call Professionals
Extensive contamination of attic insulation or crawl-space vapor barriers.
Evidence of rodents inside wall cavities or HVAC components.
Situations involving elderly, pregnant, or immunocompromised occupants.
Work Sequencing
Complete source control first—trapping and sealing entry points—before full decontamination.
Work in zones to prevent re-contaminating cleaned areas.
After-Care: Monitoring & Preventing Recurrence
Cleaning rodent urine is one component of a complete rodent control strategy.
Post-Cleanup Verification
Re-inspect after 3-7 days for new droppings, fresh odor, or gnaw marks.
Keep a simple log of any sightings, sounds, or smells indicating continued rodent activity.
Long Term Solutions for Prevention
Seal entry points as small as 6mm using steel wool plus caulk, metal flashing, or concrete patch.
Store pantry foods and pet food in rigid, rodent-proof containers; eliminate food crumbs and accessible food sources.
Reduce clutter; elevate storage on shelving; replace cardboard boxes with plastic bins.
Maintain outdoor hygiene: trim vegetation, remove wood piles against walls, secure bin lids.
Cleaning mouse urine thoroughly protects your health today. Consistent prevention measures—sealing gaps, removing food sources, and monitoring for new activity—keep your space rodent-free for good. Start with one room, follow these protocols carefully, and you’ll rid your home of both the contamination and the conditions that attract rodents in the first place.
Latest news