
How to remove Black Mould (Fast, Safely, and for Good

How to Remove Black Mould (Fast, Safely, and for Good)
Black mould in your home is more than an eyesore—it’s a signal that moisture is winning. The good news? Most small outbreaks can be handled today with the right approach. This guide walks you through immediate action steps, natural cleaning methods, stronger chemical options, and the prevention strategies that stop mould from returning.
Quick Answer: How to Remove Black Mould Today
Before diving into the full guide, here’s what you can do right now to tackle that black mould patch. This same-day action plan works for small outbreaks on hard surfaces.
Put on protection: nitrile or rubber gloves, an FFP2/N95 mask, safety goggles without ventilation holes, and old long-sleeved clothing you can wash hot afterwards
Ventilate the room by opening external windows fully and turning on any extractor fan that vents outside; keep the interior door mostly closed to contain spores
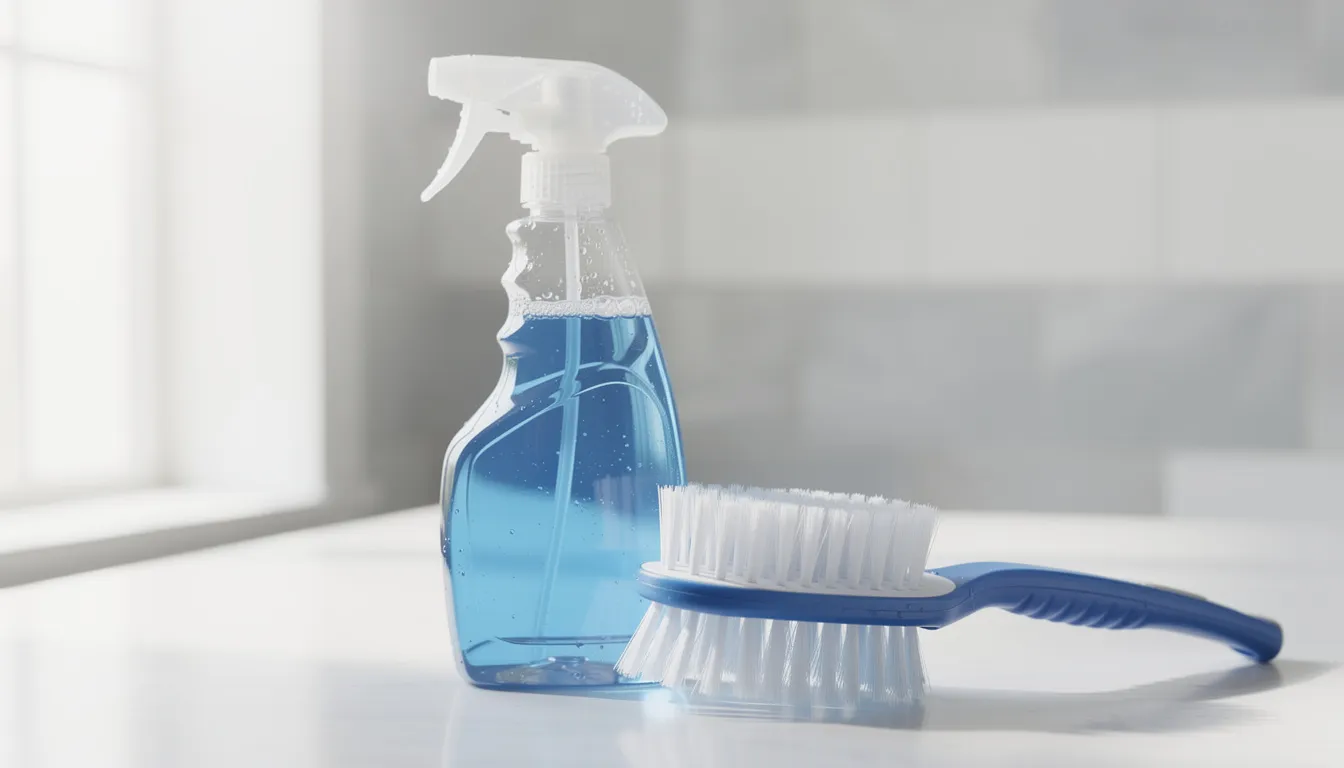
For small patches on tiles, grout, glass, or sealed paint: scrub first with dish soap and hot water to remove soap scum and biofilm, then apply either undiluted white vinegar or 3% hydrogen peroxide
Leave your chosen cleaner for 15–20 minutes, scrub again with a stiff brush, rinse with clean water, and dry thoroughly with an old towel
For silicone sealant and badly stained grout: if cleaning doesn’t remove the staining, you may need to remove and replace the sealant entirely after treatment
For porous materials (plasterboard, ceiling tiles, carpet, MDF) or areas larger than about 1 m²: stop DIY work and call a professional mould remediation company
The sections below cover everything in detail—natural methods using baking soda, vinegar, and hydrogen peroxide; stronger bleach and specialist sprays; room-specific tips for bathrooms and windows; and the long-term prevention habits that keep mould away for good.
What Is Black Mould and Why It’s a Problem
Black mould refers to several dark-coloured fungal species, most notably Stachybotrys chartarum and related black moulds, that thrive in damp areas of your home. You’ll typically find it in bathrooms (particularly around showers), along window frames during cold months, on external walls that act as cold bridges, and in basements or crawl spaces with poor ventilation. In humid environments, mould growth can establish itself within days of moisture appearing on a surface.
The health concerns associated with black mould are concrete and well-documented:
Worsens asthma symptoms and triggers coughing, wheezing, and bronchial inflammation
Causes sinus problems, headaches, fatigue, and skin irritation from exposure to mold spores and mycotoxins
Creates particular risks for vulnerable groups: children with developing respiratory systems, elderly individuals, people with asthma or COPD, and those with weakened immune systems
Can lead to allergic reactions even in otherwise healthy family members
Colour alone doesn’t prove you’re dealing with “toxic black mould”—but all visible mould should be treated seriously and removed promptly. More importantly, black mould indicates an underlying moisture problem. Whether it’s condensation from poor ventilation, penetrating damp from damaged pointing, or a slow plumbing leak, you must fix the water source or follow a structured mould abatement and prevention process or the mould problem will return within weeks.
Before You Start: Safety, When to DIY, and When to Call a Professional
Before you scrub anything, take a few minutes to protect yourself and assess the situation. Disturbing mould releases spores into the air, and breathing problems can develop from even short exposures without proper precautions, so it’s important to understand when DIY mould cleanup is appropriate and when to hire a professional.
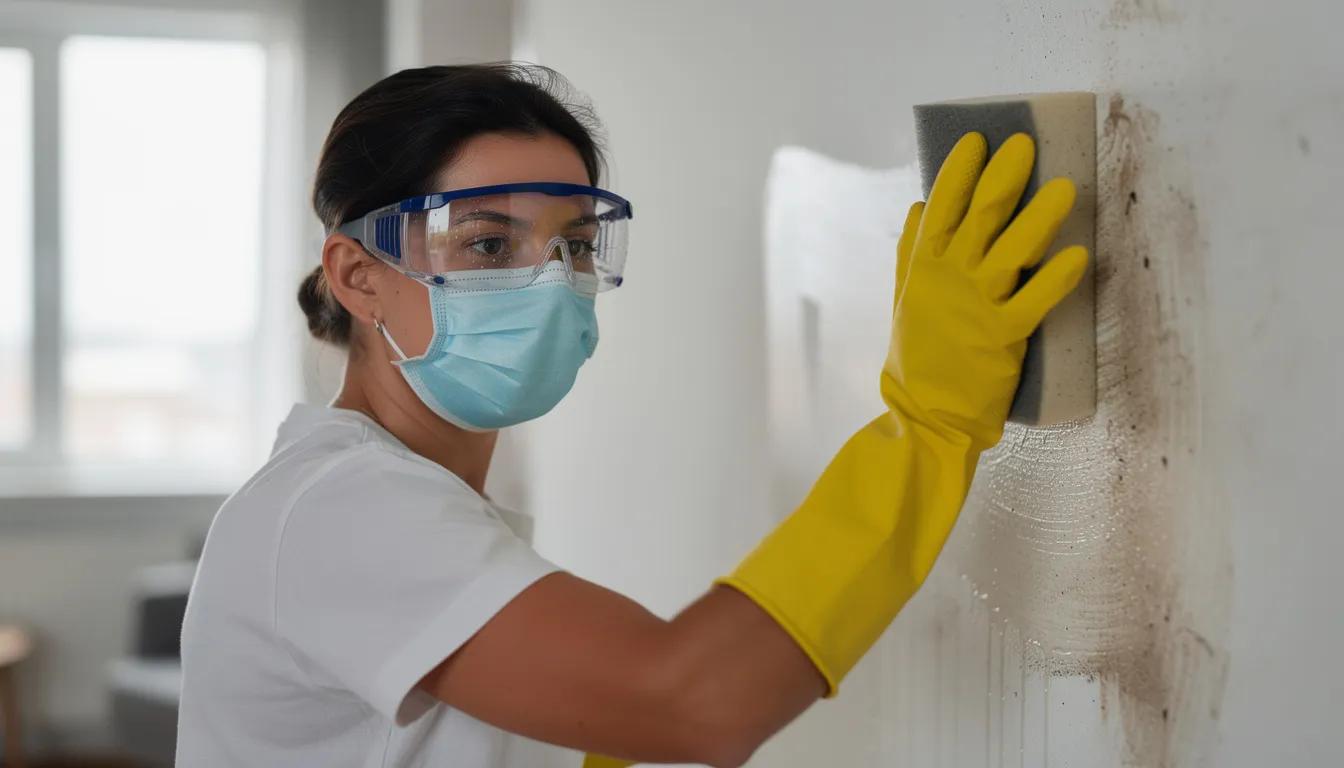
Personal protective equipment (PPE) you need:
Nitrile or rubber gloves (chemical-resistant for bleach work)
FFP2/N95 respirator or equivalent mask—not a basic dust mask
Safety goggles without ventilation holes to prevent spore contact with eyes
Old clothes with long sleeves that can be washed at 60°C afterwards
Safe room setup:
Keep other doors in the home closed and the affected room’s interior door mostly closed
Open windows fully to create airflow toward the outside
Turn on extractor fans that vent outdoors; avoid fans that just circulate air within the room
Lay down disposable plastic sheeting or old sheets on floors if you’re working overhead
When DIY is appropriate:
Patches under about 1 m² on hard surfaces such as tiles, glass, sealed paint, and uPVC
Surface mould on non-porous materials where you can see the full extent of the problem
Situations where you can act quickly before the mould spreads further
Call a professional if:
Mould covers more than 1 m² in a single area
The mould keeps returning within a few weeks of thorough cleaning
You see mould in insulation, plasterboard cavities, or under flooring
There’s a strong musty odour throughout the whole house even without visible mould
Anyone in the household has severe asthma, is pregnant, or is immune-compromised
There has been significant water damage from contaminated water, burst pipes, roof leaks, or flooding lasting more than 24–48 hours
Natural Methods: Baking Soda, Vinegar, and Hydrogen Peroxide
For households wanting to avoid harsh chemical fumes—particularly those with children, pets, or chemical sensitivities—natural cleaning methods offer a highly effective approach to small mould problems, and you can find additional mould and mildew removal tips and insights to refine your approach. These methods work well in bathrooms, kitchens, and around windows where you’re dealing with surface mould rather than deep infestations.
Natural methods are suitable for:
Light to moderate mould patches (speckling, streaks, early-stage colonies) on tiles, grout, silicone, painted walls, window frames, fridge seals, and washing-machine rubber gaskets
Any situation where you want to avoid bleach fumes or chemical residues
Regular maintenance cleaning to prevent mold growth from establishing
Each method requires proper technique and sufficient scrubbing. Even the best natural solution won’t prevent recurrence if you don’t address humidity and leaks, or recognise the early signs of black mould developing. And a critical safety note: vinegar and hydrogen peroxide should never be mixed in the same container. If trying more than one method, rinse thoroughly between applications.
Baking Soda (and Elbow Grease)
Baking soda (sodium bicarbonate) creates a mildly alkaline environment that disrupts mould cell membranes while simultaneously absorbing moisture and neutralising odours. It’s one of the gentlest options and safe to use around food preparation areas.
Basic spray method:
Mix about ¼ teaspoon baking soda with warm water in a standard 500 ml spray bottle and shake until fully dissolved
Spray generously onto the moldy area—tiles, grout lines, painted surfaces—and let sit for 10–15 minutes
Scrub with a stiff nylon brush or old toothbrush, focusing particular attention on grout lines and corners where mould concentrates
Rinse with clean water and wipe dry with an old towel or microfibre cloth
Respray a fine mist and leave to air dry; this light residue helps discourage regrowth
Paste method for stubborn spots (like shower grout from 2015 that hasn’t been re-sealed):
Mix baking soda with just enough water—or a small amount of white vinegar for a fizzing reaction—to form a thick paste
Apply with a brush directly to grout or around taps, pressing into crevices
Leave for 15–20 minutes, then scrub vigorously and rinse thoroughly
Dry the area completely
Limitations to understand:
Effective for light mould and surface staining, but not strong enough for deep, long-standing infestations
Won’t penetrate porous drywall or heavily colonised materials
May need to be combined with vinegar or hydrogen peroxide on separate passes (never mixed together)
Vinegar
Standard white distilled vinegar contains around 5% acetic acid with a pH of approximately 2.5. Research indicates it can kill more than 80% of common household mould species, making it especially effective for bathrooms, fridges, and window frames.
Undiluted spray method:
Pour white vinegar straight from the bottle into a labelled spray bottle without diluting
Spray directly onto mouldy tiles, grout, silicone, window frames, or washing-machine seals until the surface is fully saturated
Leave to sit for at least 15 minutes; allow up to 60 minutes for stubborn, established mould
Scrub with a stiff brush or non-scratch pad, then wipe away loosened mould with a damp cloth
Rinse tiles and glass surfaces; for silicone and rubber, wiping may be sufficient to avoid trapping moisture
Dry thoroughly with a towel
If you dislike the temporary vinegar smell, add a few drops of tea tree oil or lemon essential oil to the spray bottle. The acidic odour typically disappears within a couple of hours as the vinegar evaporates.
Surfaces to avoid or test first:
Natural stone (marble, limestone, slate) can etch and corrode from acid exposure
Some metals may show corrosion—test on an inconspicuous area first
Around a uPVC window frame installed in 2012, vinegar is perfectly safe and effective
In poorly ventilated, persistently damp rooms, mould may reappear within weeks unless you address indoor air quality and condensation. Vinegar is a treatment, not a permanent solution without environmental changes.
Hydrogen Peroxide
Hydrogen peroxide at 3% concentration—the standard brown-bottle pharmacy strength—works as a natural solution through oxygen-releasing action that damages mould cell structures and biofilm. It also lightens stains, making it useful for cosmetic improvement as well as mould killing when you’ve already identified black mould by its colour and appearance.
Usage method:
Put 3% hydrogen peroxide into a spray bottle (or use the original nozzle if the bottle has one)
Test on an inconspicuous patch of coloured paint, grout, or fabric first to check for bleaching
Spray liberally on the affected area—particularly effective on silicone sealant, uPVC, fridge seals, and bathroom tiles
Leave to bubble for 10–15 minutes so it can penetrate mold spores and biofilm; the visible fizzing indicates active oxidation
Scrub mold away with a brush, then wipe with a clean, damp cloth
Dry completely, repeating once for heavily stained areas like mould along the silicone bead at the back of a 2018 acrylic bathtub
Critical safety warnings:
Never mix hydrogen peroxide with vinegar, bleach, or other cleaning products in the same container
Rinse surfaces thoroughly between different products if trying multiple approaches
Hydrogen peroxide breaks down into water and oxygen, leaving no toxic residue, but it can slightly bleach coloured materials
For deep mould in porous materials—plasterboard, textiles, chipboard—hydrogen peroxide won’t reach the fungal roots. In such cases, material replacement or professional mould removal and remediation becomes necessary.
Bleach and Specialist Mould Sprays
When natural methods don’t deliver results, or you’re facing more substantial mould growth, chemical options provide stronger intervention. This section covers household bleach, proprietary mould removers, and professional-grade treatments, which may have different costs from those outlined in detailed mould testing and remediation pricing guides.
Bleach: How and When to Use
Understanding bleach’s role and limitations:
Good at whitening stains and killing mould on hard surfaces like tiles, glass, and glazed ceramics
Less effective in porous materials (plaster, unsealed grout, timber) because sodium hypochlorite doesn’t penetrate deeply—surface-level cleaning with regrowth from interior reserves within weeks
Produces strong fumes requiring proper ventilation with open windows
Must never be mixed with ammonia (found in many glass cleaners) or acidic cleaners like vinegar—toxic gas production
Hazardous around children and pets if misused; requires careful handling
Safe diluted bleach method:
Mix 1 part standard household bleach (around 5–6% sodium hypochlorite) to 4 parts water in a plastic bucket.
Apply with a sponge or spray bottle reserved exclusively for bleach use.
Keep windows open and extractor fans running continuously.
Let sit 10–15 minutes, scrub, rinse thoroughly with clean water, and dry with a towel or fan.
Protect coloured fabrics and nearby surfaces from splashes.
Specialist Mould Sprays
When specialist sprays are preferable:
Heavier mould growth in bathrooms, on tile grout, behind toilets, around window frames
External walls with historic condensation problems
Situations where you want a product that combines mould killer with a residual barrier to slow regrowth
Options include chlorine-based bathroom mould removers from supermarkets or non-chlorine biocidal sprays approved for household mould
Professional-Grade Solutions
Professional-grade solutions (similar to Concrobium-type products):
Designed to encapsulate and neutralise mould spores on surfaces rather than just killing them
Leave behind a microscopic barrier layer that helps prevent new colonies forming
Particularly valuable before repainting plasterboard or skirting boards after water damage
Available at specialist suppliers or through professional remediation companies
Even with the strongest chemical sprays, long-term success depends entirely on fixing the underlying moisture source. Chemical treatment without addressing leaks, condensation, or poor ventilation is simply postponing the next outbreak.
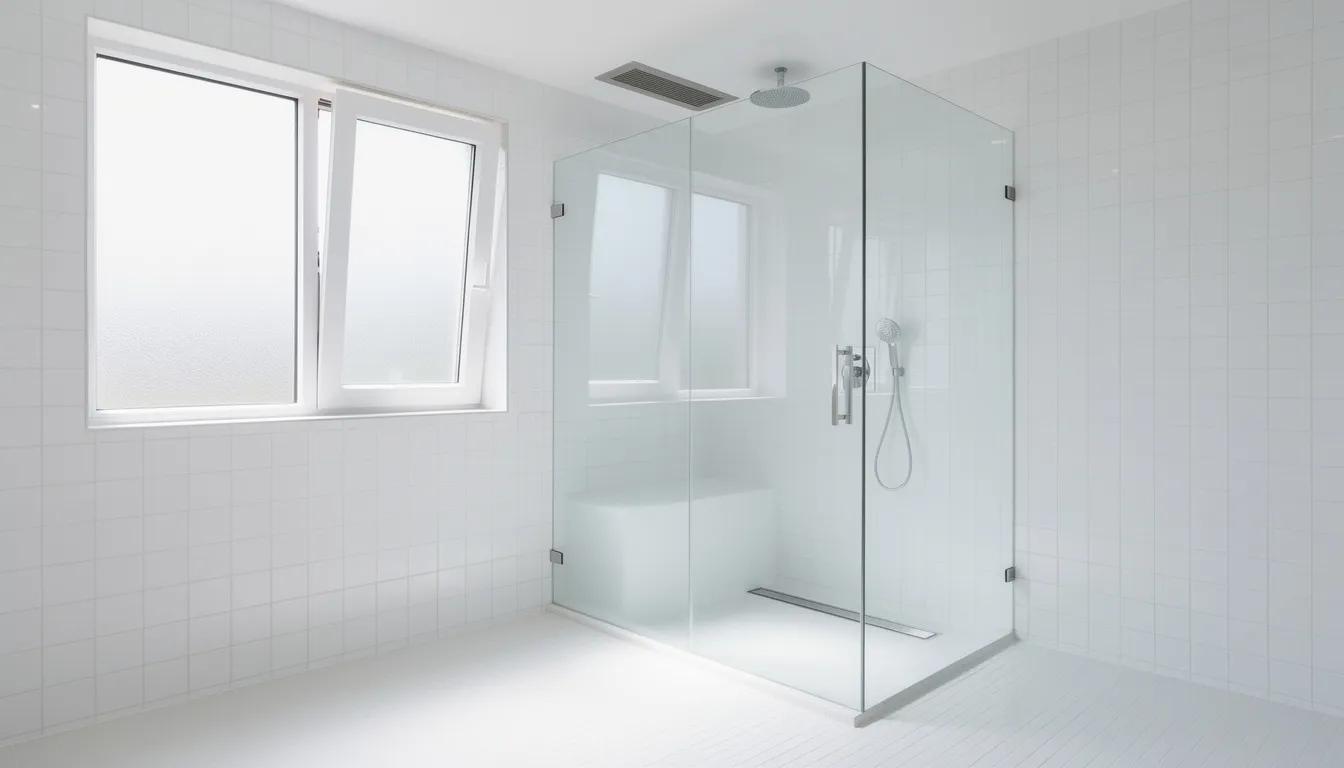
Bathroom Black Mould Removal
Bathrooms are black mould hotspots for unavoidable reasons: daily hot showers generate steam that saturates the air, bathroom fans often underperform, external walls create cold surfaces where condensation forms, and cluttered shower caddies trap moisture against tiles. Understanding why bathrooms breed mould helps you clean mold more effectively.
Focus areas requiring attention:
Shower grout (especially installations over 5–10 years old with compromised sealing)
Silicone around the bath and shower tray
Ceiling directly above the showerhead
Behind shampoo bottles and soap dispensers where standing water collects
Under window sills in bathrooms with external windows
Around the toilet cistern, particularly older ceramic models with condensation issues
Cleaning sequence:
Open the window fully and turn on the vent fan before touching anything; remove all items from the bath and shower area
Wash surfaces with hot soapy water to remove soap scum, body oils, and biofilm that can protect mould from cleaning products
Apply your chosen mould-removal method (vinegar, hydrogen peroxide, or specialist spray) with appropriate dwell time—a few minutes minimum for light mould, up to an hour for established growth
Scrub thoroughly with a stiff brush, rinse, and dry completely
Aim for all visible moisture to be gone within 10–20 minutes of finishing any future shower or bath
Ceilings and high walls:
Use an extendable pole with a microfibre head or sponge rather than standing on unstable stools
Apply cleaner sparingly to avoid drips running down walls and into eyes
After successful cleaning and complete drying (often 24–48 hours), repaint with moisture-resistant, anti-mould bathroom paint
Long-term bathroom habits to prevent mold:
Run the bathroom fan for at least 20–30 minutes after showers—consider fitting a humidistat-controlled fan that activates automatically when humidity rises
Squeegee tiles and glass doors after every shower to remove standing water that would otherwise evaporate slowly into the room
Hang towels fully open on a heated rail or over a door rather than bunched on hooks where they create damp zones
Keep shower curtains spread out to dry and wash them regularly at 40–60°C every 1–2 months
Re-sealing silicone:
If silicone remains stained or is crumbling after cleaning, remove it completely with a silicone remover tool, treat any remaining mould on the substrate, allow the area to dry for at least 24 hours, then apply fresh sanitary-grade silicone with mould-resistant properties. This addresses both the visible symptom and the substrate protection.
Mould Around Windows and on Walls
Black mould frequently appears along window frames, sills, and cold external walls during autumn and winter months. The mechanism is straightforward: warm interior air contacts cooler surfaces, condensation forms, and if that moisture isn’t removed quickly, mould colonises within days. This problem intensifies in double-glazed homes where reduced draughts mean less air circulation past window edges.
Window-area treatment:
Wipe liquid condensation from windows and sills with a microfibre cloth every cold morning—this simple habit prevents the moisture accumulation that enables mould
Clean mold on uPVC frames and glass with vinegar or a specialist mould spray, using an old toothbrush for tight corners and drainage channels
For wooden sills, test cleaners first on an inconspicuous area, lightly sand if mould has penetrated the surface, then repaint with a durable, moisture-resistant paint once completely dry
Painted plaster walls (like black streaks on the inside corner of an external north-facing bedroom wall each January):
Gently wipe the area with hot soapy water first to remove surface dirt and loose mould
Apply vinegar, hydrogen peroxide, or a biocidal mould wash following manufacturer instructions
Allow to dry completely—use a dehumidifier or heater plus ventilation where safe
Repaint only with an anti-mould or anti-condensation paint when there’s no visible mould or damp staining remaining
Airflow and window features:
Check if trickle vents are present and not painted shut; keep them open except in extreme weather to maintain air exchange
Move large furniture (wardrobes, bookcases) 5–10 cm away from cold external walls so air can circulate behind them
Avoid heavy curtains permanently closed over damp areas; lighter fabrics or leaving gaps for air movement reduces condensation
Building details to inspect and improve:
Check window seals, exterior pointing, and sills for damage or gaps that allow rainwater penetration
Ensure gutters and downpipes near affected walls are clear and not overflowing onto brickwork
In older homes (pre-1990s), consider adding cavity wall insulation or internal insulation panels where practical to reduce cold-spot condensation
Inspect for any signs of penetrating damp from outside that might be contributing to interior moisture
Preventing Black Mould from Coming Back
Cleaning mould without controlling moisture is like mopping a floor with a running tap—the problem returns no matter how thorough your effort. Lasting success comes from environmental control, not cleaning intensity. This is where long-term savings and comfort genuinely come from.

Moisture Control Actions
Aim for indoor relative humidity between 40–60%; use a digital hygrometer to monitor readings in bathrooms, bedrooms, and near windows
Use a dehumidifier in problem rooms, especially in winter or after any water damage; empty the tank regularly or connect a drain hose for continuous operation
Dry laundry outside where possible; if air-drying indoors, keep a window ajar and the door closed while using a dehumidifier to reduce moisture dispersing through the house
Use a vented tumble dryer with proper external ducting to prevent moisture introduction
Ventilation Improvements
Fit or upgrade bathroom and kitchen extractor fans to models that vent outside (not into attics or crawl spaces) and run on after the light is turned off
Open windows for “shock ventilation”—5–10 minutes of wide-open windows morning and evening where climate and security allow
Keep internal doors open when rooms are dry to promote cross-flow of air, but close them when showering or cooking to prevent steam spreading
Building Maintenance
Inspect roofs annually for slipped tiles and blocked valleys that direct rainwater into attic spaces
Clear gutters at least once a year—more often if you have overhanging trees—to prevent overflow soaking walls
Check under sinks, behind washing machines, and around boilers monthly for slow leaks that might otherwise go unnoticed for months
Daily and Weekly Habits
Wipe away condensation from windows and sills each cold morning
Squeegee shower walls and screens after use
Move and dust behind furniture every few months to spot early mould and damp before they become serious
The real estate agent eventually selling your home, the next occupants, and your own health will all benefit from these habits maintained over years rather than heroic cleaning sessions every few months.
When Black Mould Needs Professional Remediation
Large, persistent, or hidden mould problems often require professional expertise to protect both your house structure and your family’s health. Calling in specialists isn’t a failure of DIY efforts—in most cases, it’s the cost-effective choice when the situation exceeds what household methods can safely address, and a good starting point is learning how to choose the right certified mould hygienist for your home.
Red-flag scenarios requiring specialist help:
Mould covering more than about 1–2 m² in any single room
Strong musty odour throughout the house even when no obvious mould is visible (indicates hidden colonisation in wall cavities, HVAC systems, or under flooring)
Mould recurring within a few weeks of thorough cleaning despite environmental improvements
Past or present flooding, major roof leaks, or burst pipes that soaked floors, walls, or ceilings for more than 24–48 hours
Mould growing on structural timber, behind skirting boards, or under floor coverings, where a thorough assessment by a qualified mould inspector for residential properties is usually essential
Any situation involving removing mold from materials like drywall or carpet that you cannot easily replace yourself
What professional remediation typically involves:
Detailed inspection including moisture-meter readings, thermal imaging, or borescopes to find hidden damp that isn’t easily accessible
Containment of the affected area with plastic sheeting and negative-pressure machines that prevent spores spreading through the rest of the house
Removal and safe disposal of contaminated porous materials (plasterboard, carpets, insulation) that cannot be effectively treated
Treatment of remaining hard surfaces with professional-grade biocides and application of sealers or encapsulants where appropriate
Recommendations or installation of permanent ventilation solutions such as whole-home positive input ventilation systems if humidity control remains problematic
Record-keeping for the future:
Take dated photos of mould areas before and after any work
Keep invoices and reports from contractors—these help with future maintenance, warranty claims, and provide documentation when selling the property
Document any building improvements made as part of remediation
Prioritise health:
Seek medical advice if anyone experiences worsening asthma, persistent coughing, sinus infections, or unexplained fatigue when at home
Moving sleeping areas away from heavily affected rooms may be necessary until remediation is complete
Don’t minimise symptoms—mould exposure affects different people differently, and children’s respiratory systems are particularly vulnerable
Professional help is normal, often more cost-effective than repeated DIY attempts over months or years, and provides the peace of mind that comes from thorough resolution. The goal isn’t just to get rid of visible mould—it’s to create an indoor environment where mould cannot easily return, protecting both your property value and your family’s wellbeing.
Latest news


